New project setup
1. Run application
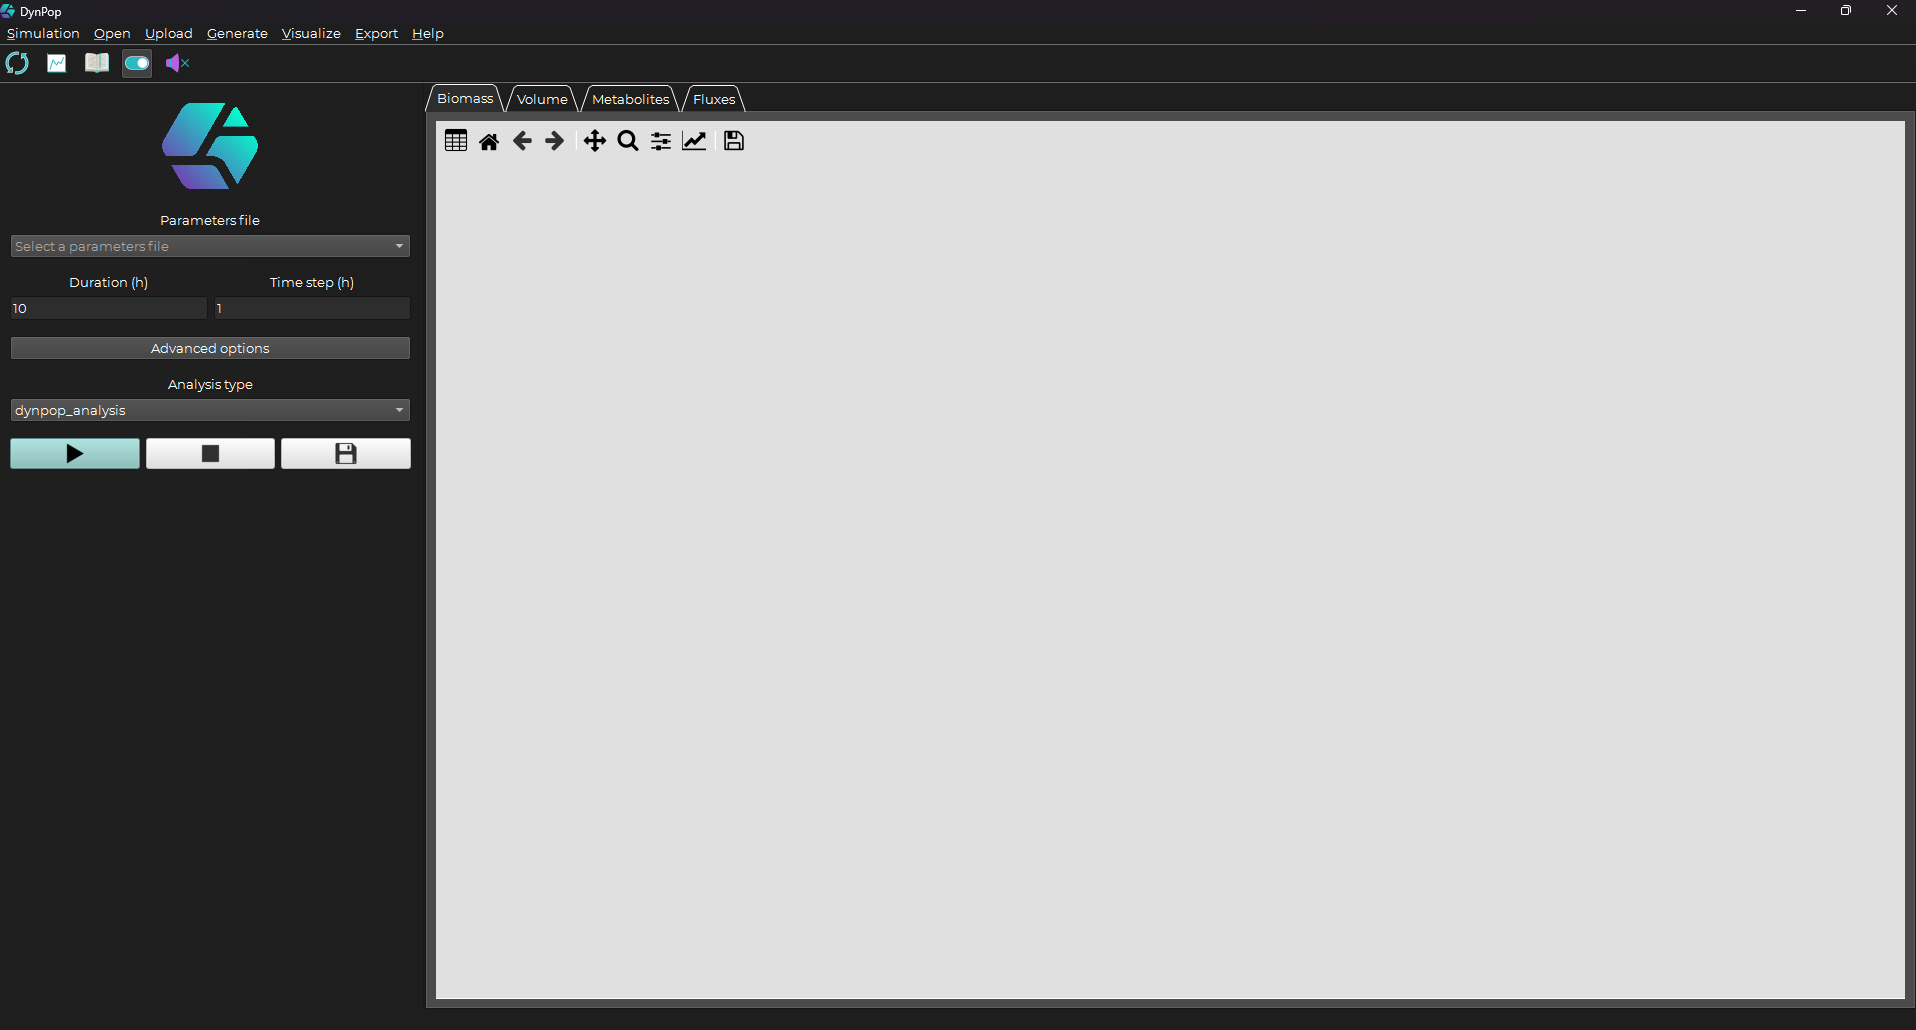
Once you've installed the application you can now run it.
You should have the following interface:
2. Prepare files
Next, you need to prepare the files to be used for simulation.
For a better idea about the files used and their structure you can go to DynPop files.
2.1. Model file(s) + Model constraints files(s)
The model files are the center piece of the simulation. For each model file you need a corresponding constraints file.
Note
If you need new constraints files you can generate them from the model files by using the DynPop application.
Just place all your model files in one folder, then on the DynPop application go to: Generate -> constraints from model(s)

Now go to the folder where you placed your models and select all of them.
Next, choose the output folder where you want your constraints files to be generated.
2.2. Regulatory network file + Initial values file (optional)
Constraints can also be applied to the models during the simulation by using a regulatory network file coupled with an initial values file.
These files are optional.
2.2. Main parameters file
To get started you can generate an empty template file with the correct needed structure (sheets and columns).
On the DynPop application Go to: Generate -> parameters template

Now you can fill the different sheets with the information as specified in the main parameters file structure.
3. Upload files
3.1. Model file(s)
Make sure all your model files are in the same folder then on the DynPop application go to:
Upload -> models files

Now, select all your model files and upload them by clicking on open.
3.2. Model constraints file(s)
Make sure all your constraints files are in the same folder then on the DynPop application go to:
Upload -> models constraints files
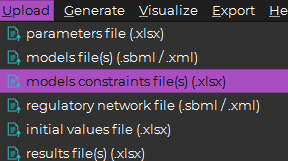
Now, select all your constraints files and upload them by clicking on open.
3.3. Regulatory network file (optional)
On the DynPop application go to:
Upload -> regulatory network file
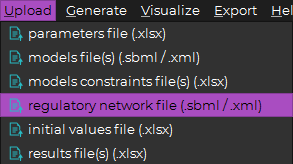
Select your regulatory network file and click on open.
3.4. Initial values file (optional)
On the DynPop application go to:
Upload -> initial values file
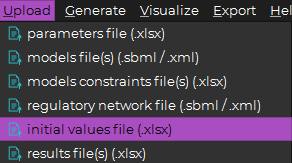
Select your initial values file and click on open.
3.5. Main parameters file
On the DynPop application go to:
Upload -> parameters file
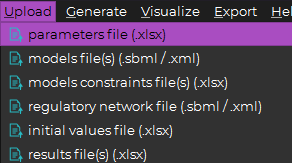
Select your parameters file and click on open.
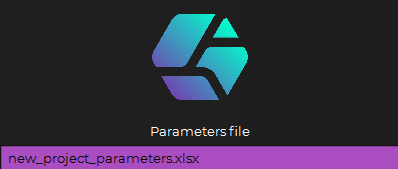
Your file should now appear in the parameters file selector:
Congratulations !
Your project is now setup. You should be ready to run your simulations now.